


Try the paint roller cleaning hack going viral on TikTok
Clever hacksters provide their cleaning expertise on the trendy social media site
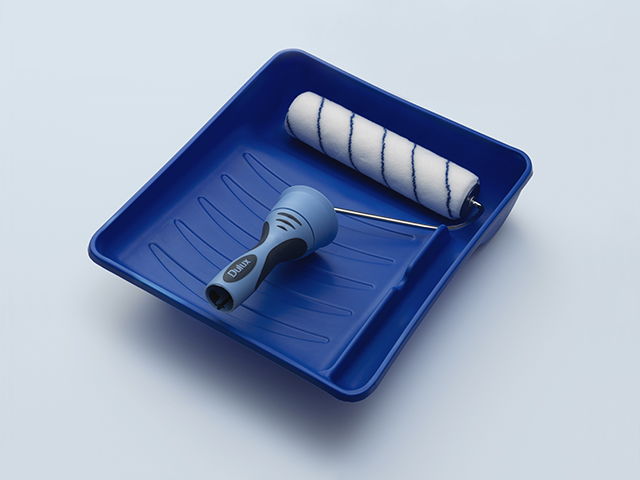
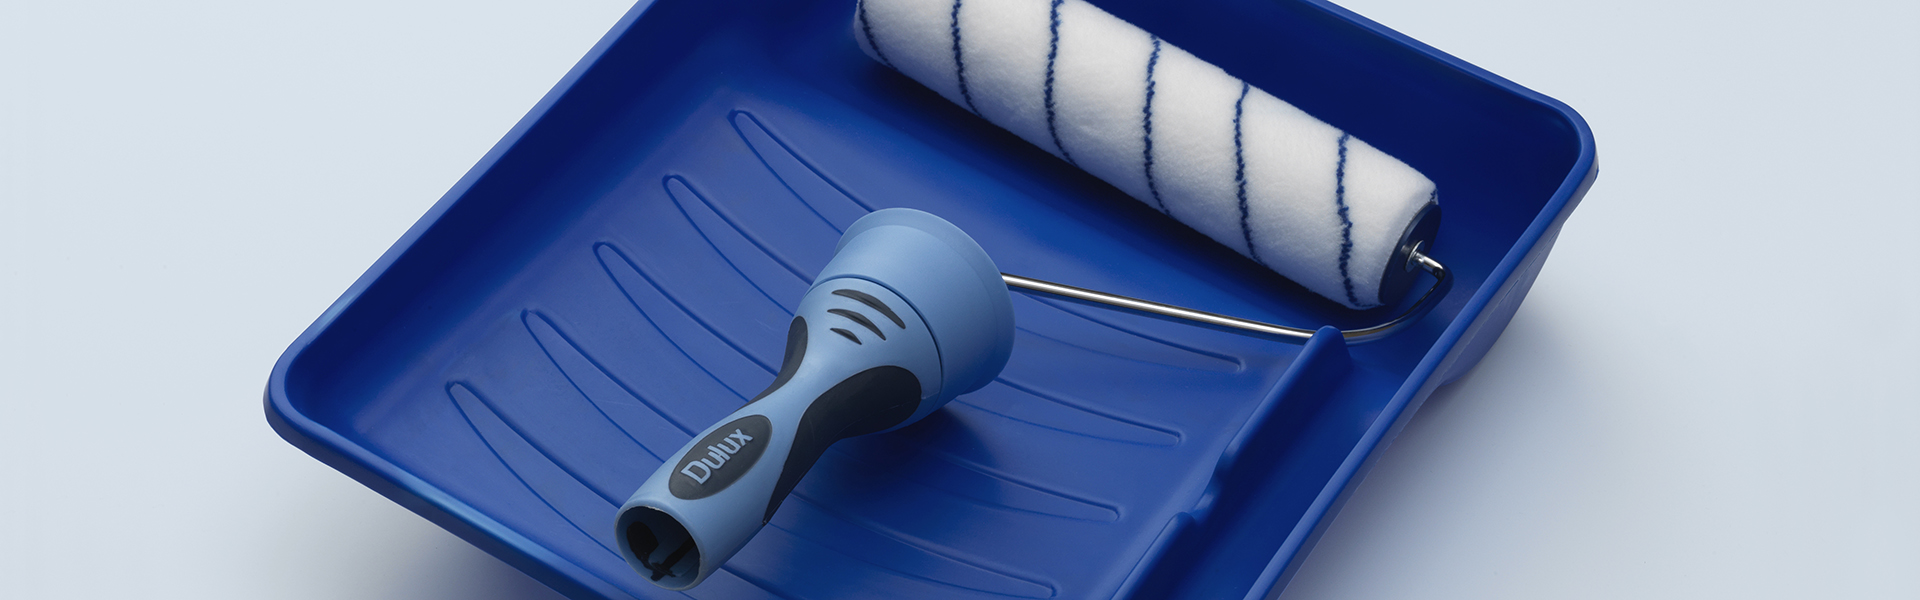
Image credit: Dulux
How to clean paint roller and tray
@pezzottipaintingSatisfying roller cleaning.. watch til the end! #paintersoftiktok #painting #philly #satisfying #oddlysatisfying #fyp #paint #foryoupage #drip♬ Electric Feel – MGMT
Follow these five guidelines as soon as you’ve finished painting:
- Pour unused paint from your tray back into the tin, providing it’s not contaminated with flies or dirt.
- Next, run water over your paint tray, using a scrubbing brush to remove excess paint and dry the tray off with an old cloth.
- In terms of tips for cleaning paint rollers, first scrape the unused paint back into the tin with a putty knife and roll it on a rag.
- Disassemble the roller, rinse with warm water, add detergent and work it into a lather to remove the rest of the paint.
- After the final rinse, let it air dry standing upright to avoid crushing the fibres.
For solvent based paint, you’ll need to pour the solvent into the paint tray, circulate it through the roller and let it soak for a few minutes. Squeeze the excess solvent out of the roller and repeat the process with new solvent until it’s clean. Don’t forget your gloves, goggles and plenty of air to combat those fumes!
The best way to environmentally clean brushes and rollers
Environmentally friendly results start well before the process of cleaning up process. Firstly, reduce the paint you buy, to minimise the amount left over. Dulux offer a handy paint calculator to work this out for you. Next time you are in a DIY store, look at the back of the paint container to check the coverage per litre that the paint gives you.
There’s no doubt that cleaning paint out of brushes and rollers uses substantial amounts of water or solvent. Decorating tips to minimise waste include reusing tools again the next day if you’re working on the same job. Simply wrap your brush or roller in a plastic bag and apply masking tape around the handle to keep the seal airtight.
White spirits and solvent based brush cleaners do release VOCs when used. As hazardous substances, they’re also difficult to dispose of. So, the best solution is to choose water based paints that are easily removed with soapy water alone. If you do use solvent based paints, clean in a container that is only slightly larger than the brush to reduce solvent usage.
The container should have a tightly fitting lid to enable dirty solvents to settle, so the clean solvent can be poured back into the bottle and reused. Leave the sediment to dry before disposing of it at your nearest hazardous waste disposal service. Don’t be tempted to pour it down the sink, as the chemicals in solvent can contaminate water supplies.
Watch the Dulux video
How to store equipment for future decorating
Now that you have learned how to clean up quickly and effectively after painting, where should you store everything?
A cool, dry place, like a cupboard, is best. If you’re storing equipment in a shed or outdoors, make sure everything is raised off the ground on a shelf and away from the shed walls. This is particularly important around peak summer and winter months where we see extreme temperatures.
Keep your brushes in a vertical position to avoid damage to the bristles and wrap roller heads in bags or cloth to keep them clean.
Lastly, leftover paint will last longer when the tin is sealed tightly. To do this, wipe the rim of the can clean, replace the lid, place a block of wood over the top and tap down with a hammer.
Finally, once it is secured, turn the can upside down to form an airtight seal.