


Step-by-step guide: how to paint an arch wall design
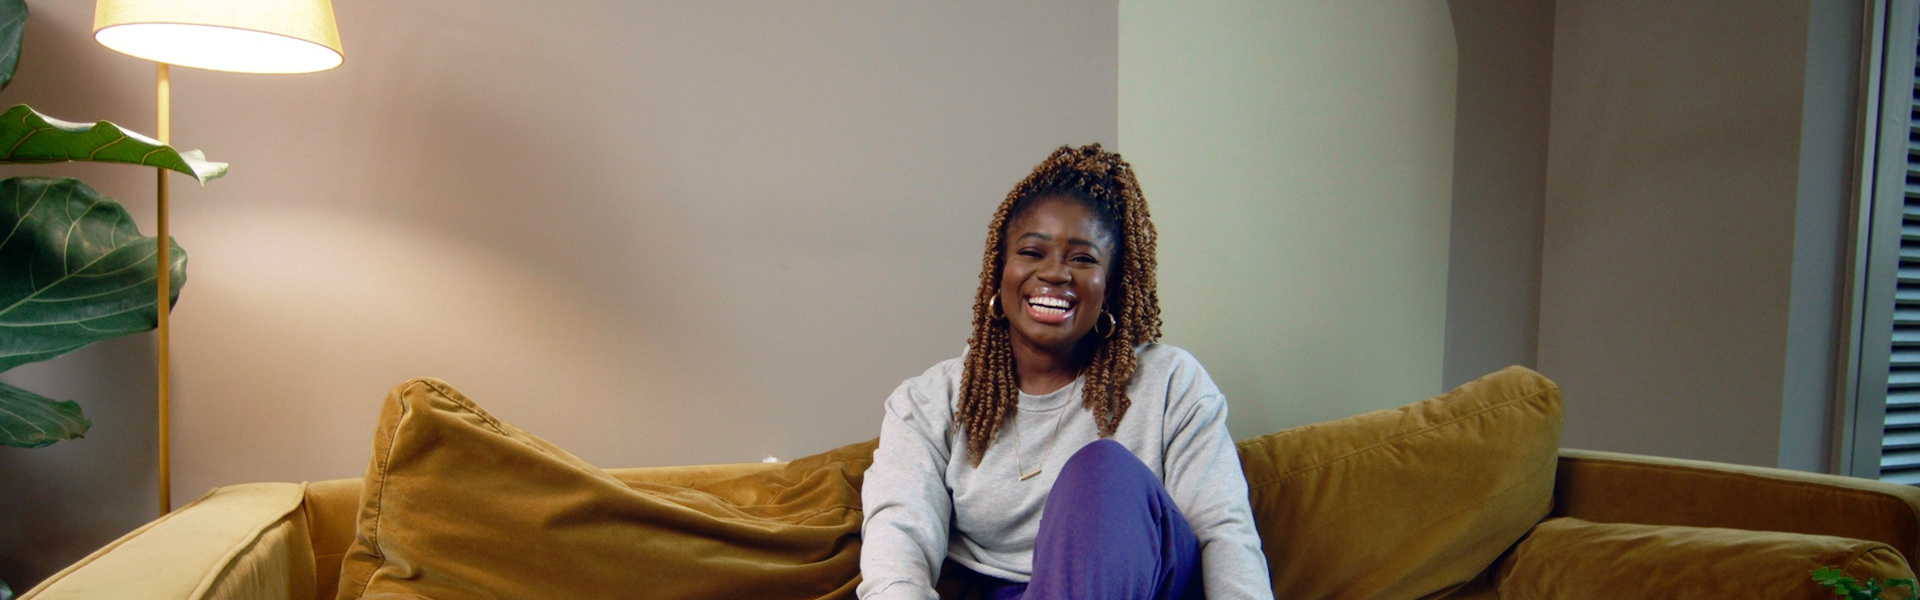
Add a pop of colour to a neutral space with this painted arch wall design tutorial from Dulux Colour of the Year Ambassador, and Radio 1 presenter, Clara Amfo

Image: Dulux
Ready for your next lockdown DIY project? Try painting a statement arch in your home office or children’s play area with this simple guide by Dulux and Radio 1 DJ and Colour of the Year 2021 Ambassador for Brave Ground, Clara Amfo.
Read more: Dulux Colour of the Year 2021: 7 ideas for Brave Ground
We loved the impact that painting a perfect circle had on our spaces, so when we heard about this new project from the paint experts, it was music to our ears!
Perfect for creating a different zones in a multifunctional area, this paint design can be done with supplies you already have, making the most of paint leftover from previous do-it-yourself room makeovers.
Equipment you will need:
- Leftover paint in your chosen paint colours
- Measuring tape
- White chalk
- Scissors
- Masking tape
- Pins
- Paint tray and small paint roller
- Small paint brush (1.5”)
Step 1

Image: Dulux
First you need to decide on the width of your arch. Here, Clara is going for a 90cm wide arch, about 30cm away from the corner. Once you have an idea of size, mark both ends of where the arch will be.
Step 2

Image: Dulux
Take the ball of string and cut a piece about the same length as your height.
Step 3
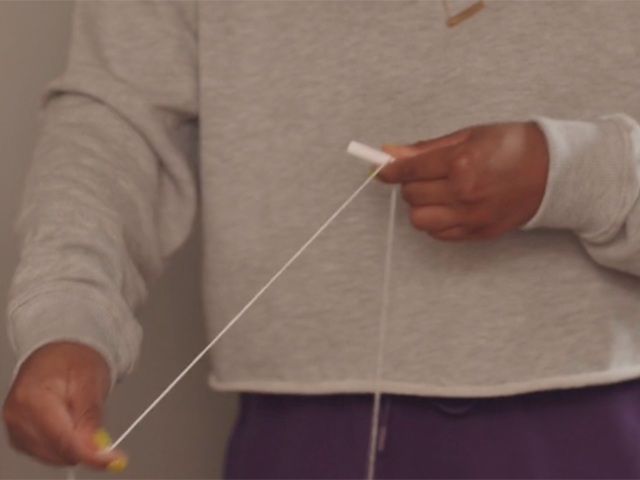
Image: Dulux
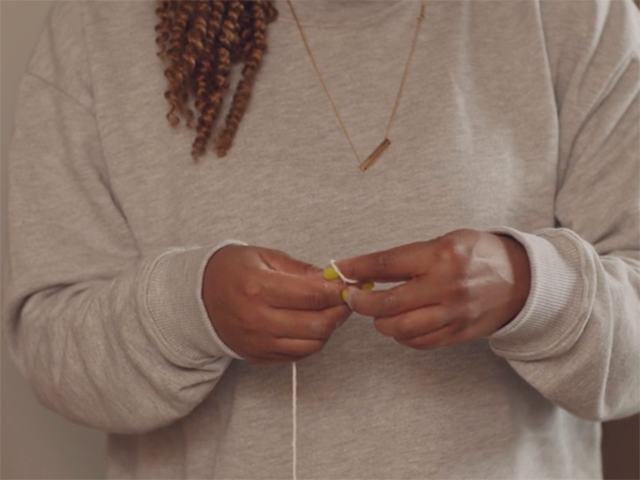
Run the string over the chalk 2-3 times.
Step 4
Tie a knot at one end of the string, at the other end, tie something heavy to give it a bit of weight – you can use the scissors or a set of keys. Get a piece of masking tape and place it just under the knot.
Step 5
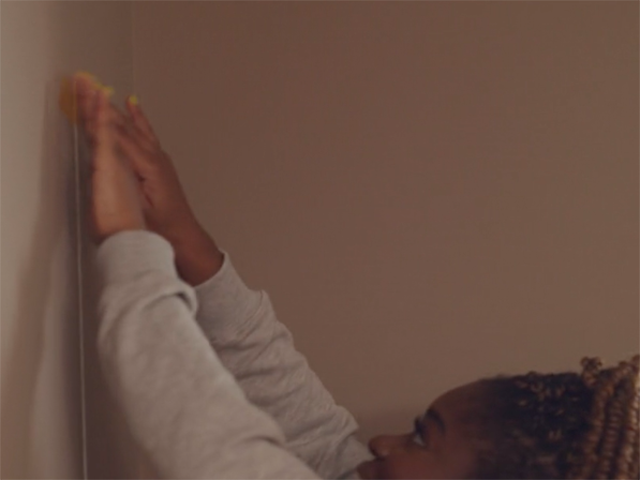
Image: Dulux
Draw it down slightly and ping it, to make a straight mark on the wall. Repeat for the other side of the arch.
Step 6
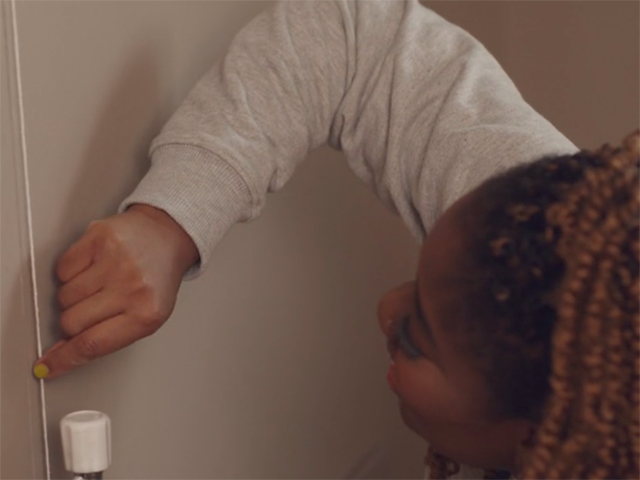
Image: Dulux
Get your masking tape and place a long piece on the outside of each of the lines.
Step 7
Image: Dulux
Get the ball string again and cut another piece with a knot at one end. This time the string can be shorter. Stick a drawing pin through the knot Measure the inside arch area and mark the middle point using chalk.
Step 8
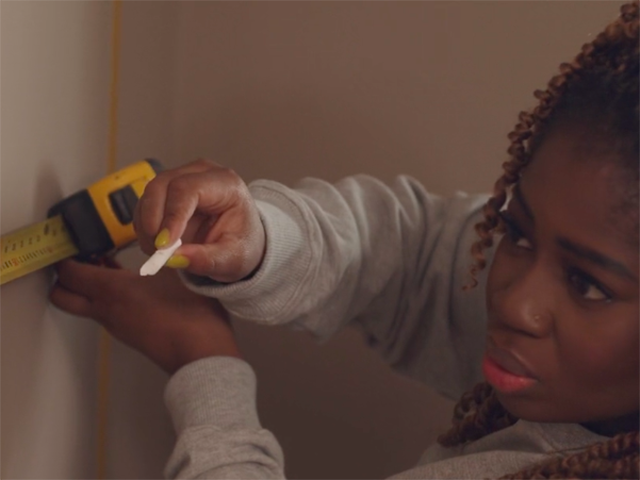
Image: Dulux
Place the pin attached to the string at the middle point.
Step 9
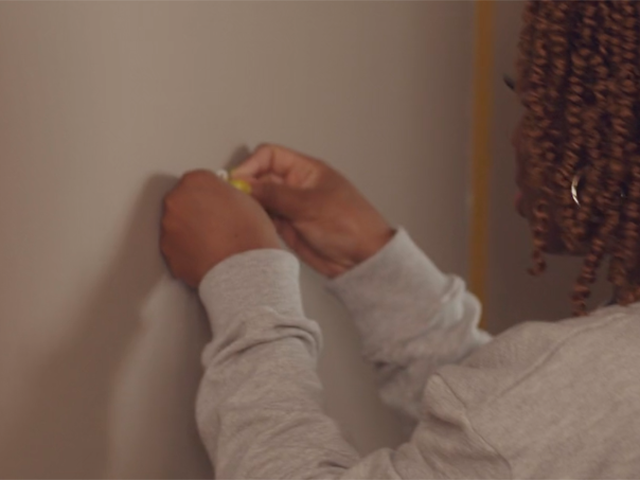
Image: Dulux
With the chalk tied to the other end of the string, draw an arch shape.
Step 10
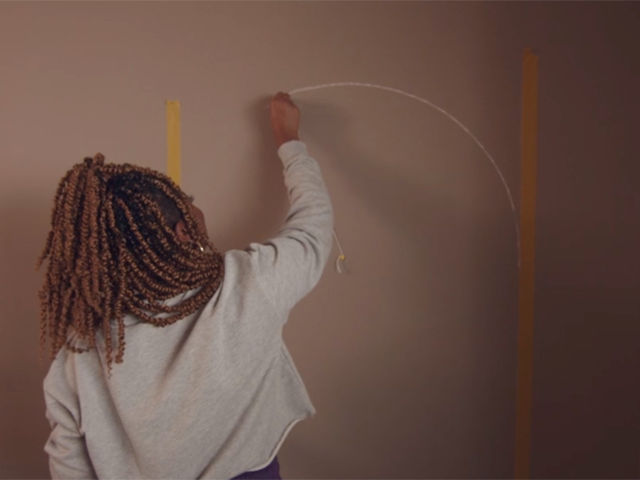
Image: Dulux
Paint the inside lines of the arch using paint you’ve chosen and the small straight brush.
Step 11

Image: Dulux
Once the lines are done, pour the paint in the tray and fill the arch in using the roller.
Step 12
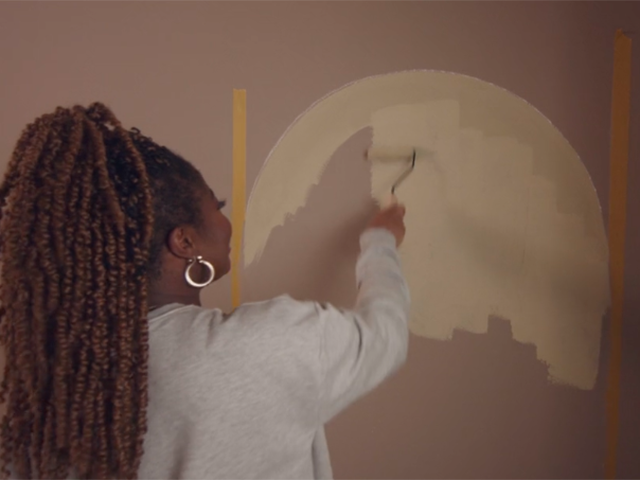
Image: Dulux
When you’ve filled the inside of the arch, remove the masking tape and you’re done!
The final result
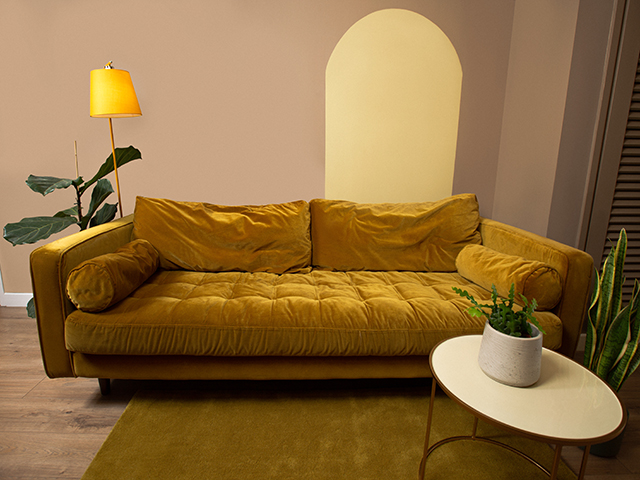
Image: Dulux
Video tutorial
Watch as Marianne Shillingford, Creative Director of Dulux and Clara Amfo takes us through the project from start to finish in this candid YouTube tutorial using shades Brave Ground and Cardamom Pod.
Overseeing Clara’s technique over video call, Marianne said: ‘Well done, that looks amazing! You should be “chuffed as a cheesecake” ‘.
For more information, head to: dulux.co.uk/coty2021