


How to create wall panelling with beading
Take your feature wall to the next level with this stylish DIY wall panelling – the Good Homes step-by-step guide makes it easy…
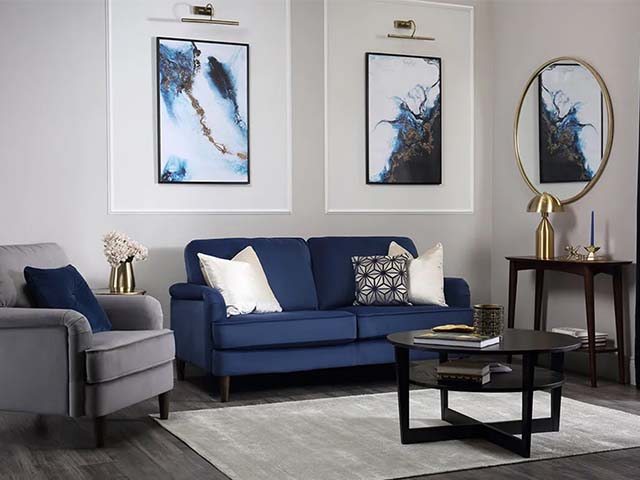
Bring a glamorous twist to your living room with this feature wall, created by Furniture Choice, that adds texture and interest to the room with its sophisticated yet subtle panelled lines.
What you’ll need…
- Tape measure
- Masking tape
- 3 paint options of your choice. We used Dulux Trade Paint and chose Dulux 10YY 54/034 (wall), Dulux 10YY 72/021(Inner Panels) and Dulux 00NN 83/000 (beading)
- Painting equipment: roller, brush and tray
- Pine decorative beading
- Fixings, nails or wall glue
- Junior hacksaw
- Framed artwork or photograph
- Picture light
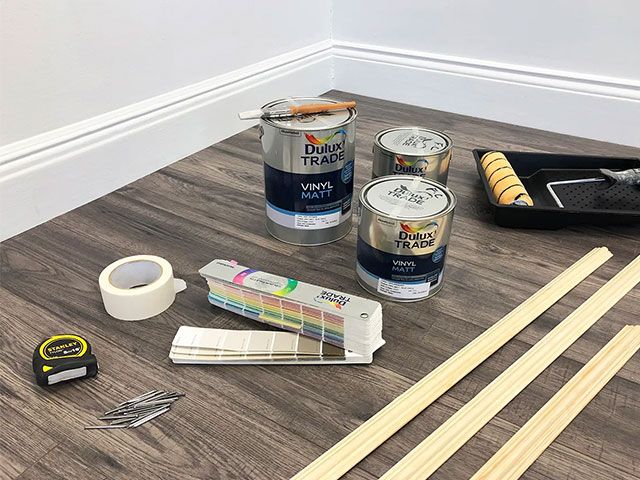
Image: Furniture Choice
Step 1
Paint the wall with the base colour of your choice. For a nice contrast, we recommend that you choose the darkest colour out of the three paints that you have selected.
Step 2
Once the wall is dry, measure the space that you’d like to work with as the ‘frames’ for your walls – it can take the form of squares or rectangles – or really anything you’d like. For a classic look, we’ve gone with rectangles here.
Also, if you are planning to hang artwork for the final step, make sure you leave enough space around the borders and enough height above to hang a picture light. Once you’ve measured and marked everything, create the borders with masking tape.
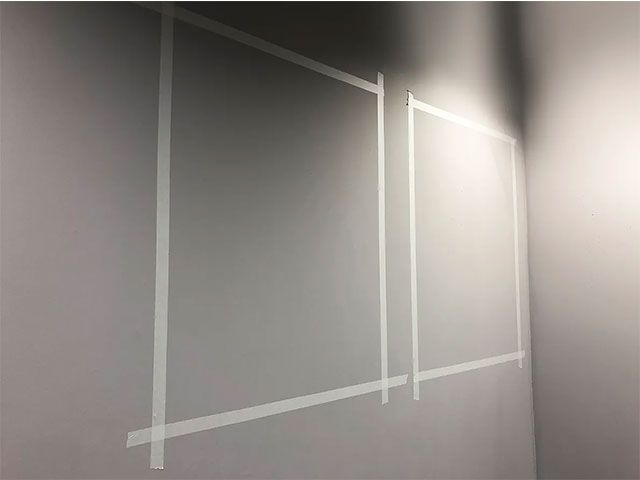
Image: Furniture Choice
Step 3
Next, paint the rectangles within the masking tape frames using the middle shade of paint.
Step 4
Paint the lengths of your decorative beading in the lightest shade of paint.
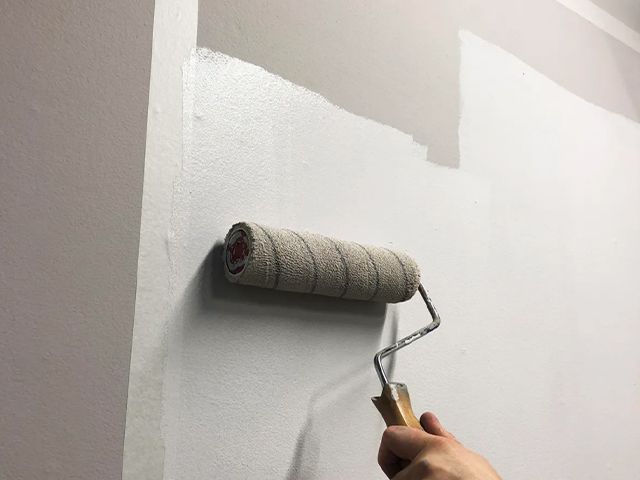
Image: Furniture Choice
Step 5
Once the beading is dry, carefully cut it down to the same measurements as the masking tape frame, cutting the edges on the diagonal using a junior hacksaw, or another suitable wood cutter tool.
Step 6
Once you’ve done that, carefully peel off the masking tape and fix your pine beadings to the outer edges of the painted frame, using nails or strong wall glue.
Step 7
Finally, hang your framed artwork and picture light within the frame. For even more impact, we’ve gone with art that complements the blue and gold in this room, but you could play with metallics, or contrasting shades too – the sky’s the limit.
Image: Furniture Choice