The cosy autumn season has arrived and it’s time that home decor reflected the change – an autumn wreath is a good place to start.
Of course, you can buy a seasonal wreath, but you can also get creative and make your very own DIY option pretty easily – and it enables you to customise it, just how you like it.
This stylish design inspiration is easy even for the most reluctant crafter, and all the materials are available to purchase from Hobbycraft.
Follow these steps for how to craft your perfect autumn wreath…
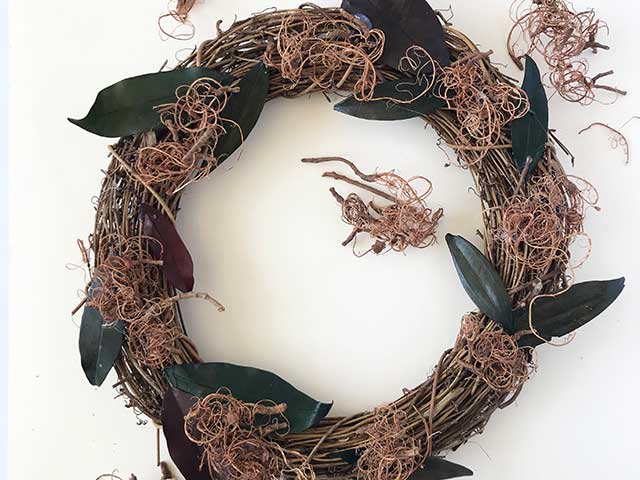
Glue the leaves and curly twigs to the base using the hot glue gun.
Be sure to space them out evenly to help Using the hot glue gun, glue all leaves and some curly twigs to the base – ensuring you space them out evenly.
Image: Hobbycraft
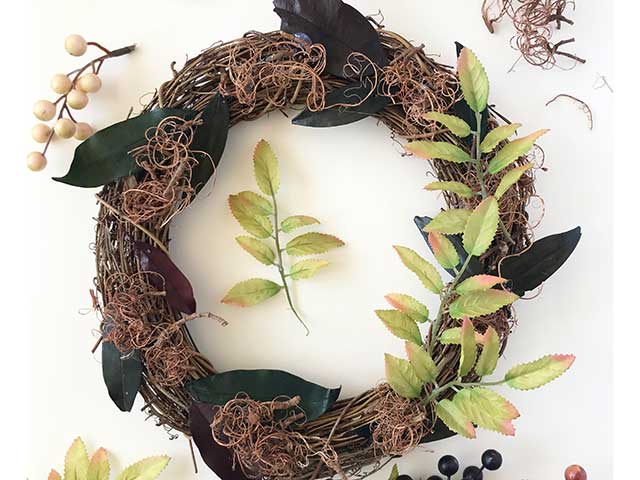
Separate the berry stems using wire cutters then split up the leaf sprigs from the berries.
Attach a few of the leaf sprigs around the base.
Image: Hobbycraft
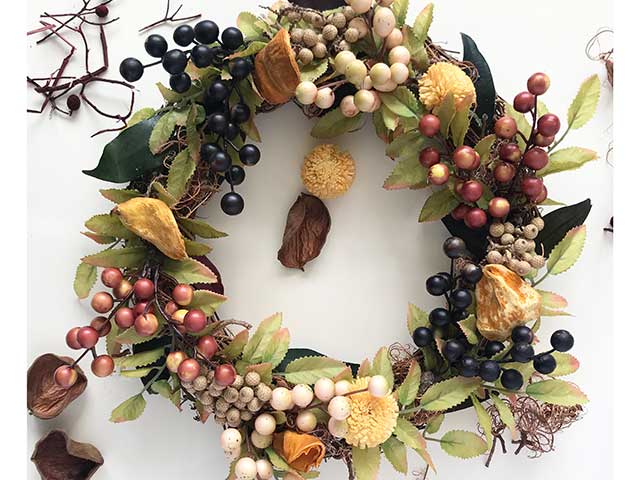
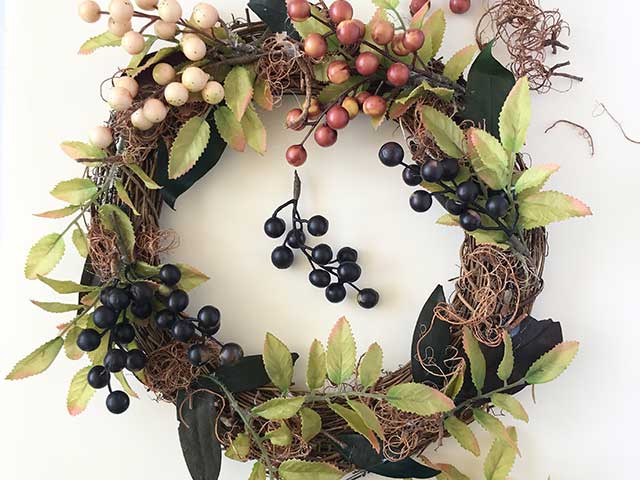
Place the berries around the edge in colour clusters using the glue gun, alternating as you go.
Image: Hobbycraft
Attach all of the remaining dried embellishments around the wreath, making sure to fill up all the gaps. You can add as many or as few embellishments as you wish to create the look you want.
Image: Hobbycraft
Find even more autumn crafting inspiration on the Hobbycraft website, as well as plenty of materials to help you through.