


Image Credit: Earthborn
Genius £34 tablecloth hack for tired headboards and 13 other decorating hacks to try this spring
With spring beginning to have sprung, many of us are eyeing up the corners of our homes that could do with a little love.
Whether it’s scuffed skirting boards, tired walls or that long-ignored shelf still waiting to be hung, the urge to refresh our living spaces often coincides with the arrival of (slightly) better weather.
But the idea of a home makeover can feel equal parts exciting and intimidating.
While adding a personal touch to your space can transform both the look and feel of a home (and even boost its value), the practical and financial side of DIY is where many of us come unstuck.
It’s not just the effort involved that puts people off, it’s the worry of getting it wrong.
Research by Draper Tools found that four in ten of us struggle with painting walls or applying wallpaper, and more than a quarter have managed to damage a wall simply trying to put up a picture.
Not exactly the stress-free glow-up we had in mind.
The good news? A little insider know-how can go a long way.
From clever decorating shortcuts to surprisingly simple DIY fixes, there are plenty of tricks that make even the fiddliest jobs far more manageable.
“Refreshing your home doesn’t always require a full redesign or a big budget,” explains
interior design expert Kate Conrad from Madison and Mayfair.
“Some of the most striking interiors come from thinking creatively about everyday items and using them in unexpected ways.
“A little imagination – and a willingness to experiment – can transform ordinary objects into clever design features.”
With that in mind we spoke to the interior experts to uncover their budget-friendly DIY hacks that promise to save time, money and more than a few decorating mishaps.
Consider this your cheat sheet to smarter, simpler home upgrades. Thank us later.
The tablecloth headboard hack
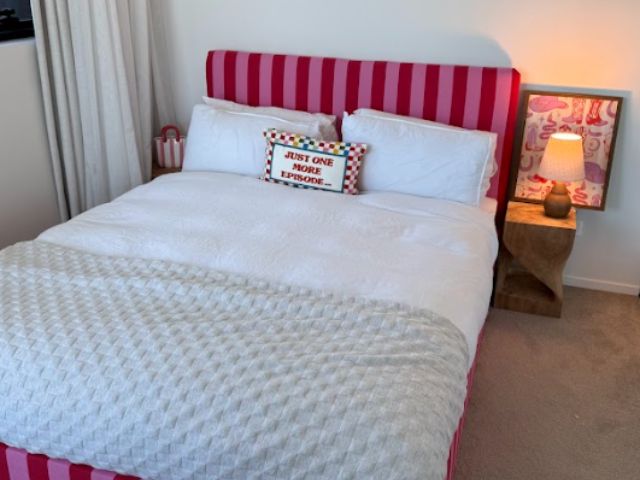
Switching up your headboard can be surprisingly expensive, but one clever DIY trick, recently shared by content creator Casa Lawson, shows how simply draping and securing a stylish tablecloth over an existing headboard can give it an instant, budget-friendly refresh with minimal effort.
After living with a water stain on her bed frame and a colourway she’d grown bored of, Alex, 30, who is originally from Scotland, but currently living in Australia, decided it was time for a glow up, without the expense of a brand new bed.
“I was looking for different fabrics to use but many of the options were really expensive,” she explains.
“While shopping for some other home supplies I spotted a range of Christmas tablecloths and couldn’t believe how reasonable they were [£34] and it felt like fate as I’d been most keen on using a striped fabric.
“It’s a great beginner DIY project; the most important thing you need to have is patience.”
Alex says all you’ll need to try something similar are some scissors, wadding, a staple gun and a tablecloth.
“I’d absolutely recommend giving it a go, if you are using a patterned fabric be mindful of where the pattern between sections matches up like around corners for example.
“Be patient and remember if you make a mistake, it is very easy to undo the staples and try again. This is a fantastic way to give a bed frame a new lease of life.”
Fashion a headboard out of flooring
For an alternative headboard upgrade Kate suggests using leftover flooring.
“If you have spare laminate or engineered flooring boards left over from a project, they can make a striking headboard,” she explains.
“Fix them horizontally or in a herringbone pattern onto a plywood backing board. It adds warmth and texture behind the bed.”
Think outside the paint box
When it comes to refreshing a room, many of us assume the only option is to paint the walls in a new colour.
But thinking a little outside the paint tin can be a far cheaper, and often more interesting, way to update a space.
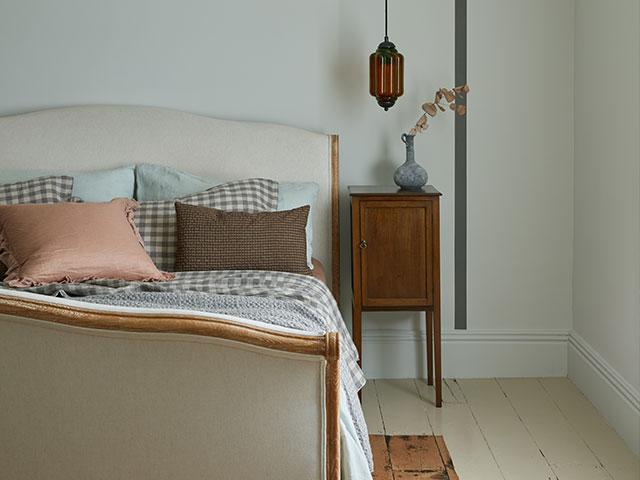
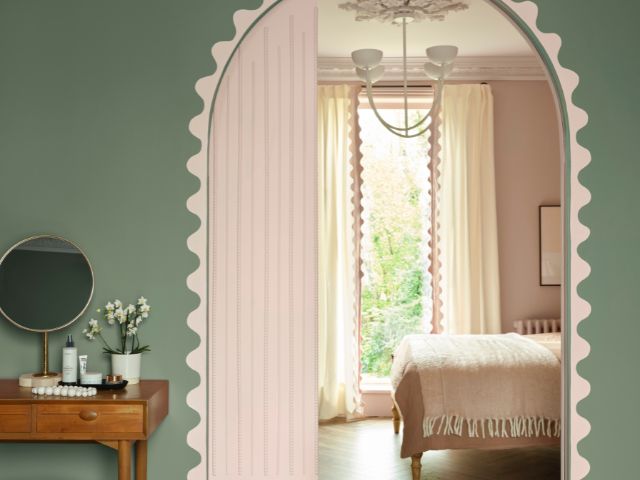
Simple details such as painting a border around the room, or adding a playful scalloped edge around a doorway, can instantly inject personality and visual interest without the time, cost or commitment of repainting the entire space.
“If you want to inject some colour into a more neutral room, adding a border is a fun and creative way to make a statement in your home,”explains Earthborn’s technical advisor, Jon Mee.
“In the bedroom, opt for a subtle border around the bed to create a second headboard which helps break up an open wall.
“Alternatively, choose a totally contrasting colour and paint around a hallway door to draw the eye in and create a feature.
“Introducing a pop of colour will only require around one litre of paint for each surface, but if you’re planning to paint skirting boards, windows or door trims, then a primer is also recommended.”
Refresh your cushions with dye
Giving tired cushions a new lease of life can be as simple as reaching for fabric dye.
Rather than replacing perfectly good covers, dyeing them in a fresh shade is a quick and inexpensive way to overhaul the look of a sofa or bed.
Whether you opt for a warm neutral, a bold pop of colour or even experiment with subtle dip-dye effects, it’s an easy interiors refresh that can instantly update a room without buying anything new.
“If you are unable to buy new cushions or lack the skills to make new cushion covers, you can use fabric dye instead to change the colour,” advises Steve Larkin, interiors expert and CEO of Lark & Larks.
“Check that you are using the correct dye for the material, and remove and clean the covers first.”
Steve says this simple hack will work best with lighter coloured fabrics.
“After dyeing apply a colour fixative to prevent the colour from washing out,” he adds.

Pretty-up your lampshades with ribbon
Lampshades are an oft-overlooked opportunity for a mini makeover.
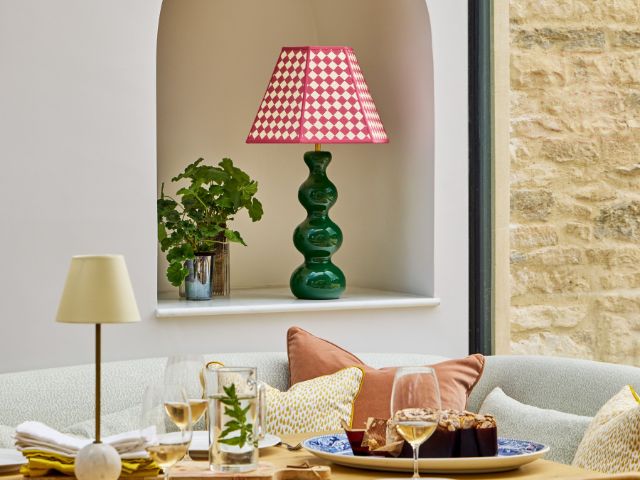
Instead of swapping them out entirely, Lee Trethewey, interiors expert at Sustainable Furniture suggests customising what you already have by adding ribbon trims, pom-poms or decorative braiding around the edges.
“Adding stripes or a trim around the top and bottom of your lampshade can instantly add colour and texture to an otherwise plain shade, and transform a room with little to no effort,” he says.
“I would also recommend choosing a trim colour that links to other elements in your room, such as cushions or artwork, so that the shade can feel intentionally styled, rather than randomly curated.”
Velvet ribbon was everywhere in Christmas décor, but it can still work for a spring refresh.
Mother and daughter content creators Elizabeth Novoa and Alexa Mason @Alexa.Elizabeth.Style recently shared how to DIY a pleated lampshade with velvet ribbon.
“All you need is ribbon, hot glue, and a lampshade!” they wrote in the reel’s accompanying caption.
“Cut strips of the ribbon to cover the length of the lampshade and glue the ends to the inside of the shade.
“Keep layering them until you’ve made it all the way around and you’re done!
“Love this for an easy way to upgrade your lamps and make them look more designer.”
Use fabric to DIY art
If your walls are looking a little bare, stretching fabric over a canvas frame is a brilliant way to create affordable and unique artwork.
From bold prints to textured linens, fabric can add warmth, pattern and personality to a space, and, because it’s easy to switch out, you can update the look whenever you fancy.
Steve suggests using old scarves, blankets or clothing stretched over canvas to create some unusual artwork personalised to you and your space.
“Iron the piece that you are using first, and then apply a spray adhesive to the canvas before sticking it down,” he adds.
Kate also suggests framing beautiful wrapping paper as statement art.
“High-quality wrapping paper or wallpaper samples can make surprisingly striking wall art,” she explains.
“Choose bold prints or metallic designs and frame them in large frames or a grid layout.
“It’s an inexpensive way to introduce colour and pattern, and you can easily swap designs whenever you fancy a refresh.”
Create DIY wallpaper
There are some incredible wallpaper designs, but putting up wallpaper isn’t a skill everyone has mastered.
Thankfully there is an easier way to create the effect of a wallpapered wall with paint.
Steve suggests cutting a kitchen sponge, dipping it into paint to create your own pattern to mimic wallpaper.
“When applying the pattern with the sponge, use a spirit level to ensure that it is level,” he adds.
Use coffee to stain floorboards
Grounded coffee can be a quick and easy hack for those looking to stain their untreated wooden floor.
According to Natalie Mudd, creative director and co-founder of Knot & Grain it’s natural and easy to apply, and enhances the beauty of wood with a golden, caramel tone.
“Simply soak the ground beans in hot water and use a cloth to apply several coats for a noticeably warmer shade,” she explains.
Steve says the same trick can also be used to stain wooden furniture.
“This works best if you brew very strong coffee, allow it to cool and then apply multiple coats to clean, sanded wood,” he says.
“Lighter colour woods will take the stain best, and it will need to be sealed after staining.”
Create a gallery wall from crockery
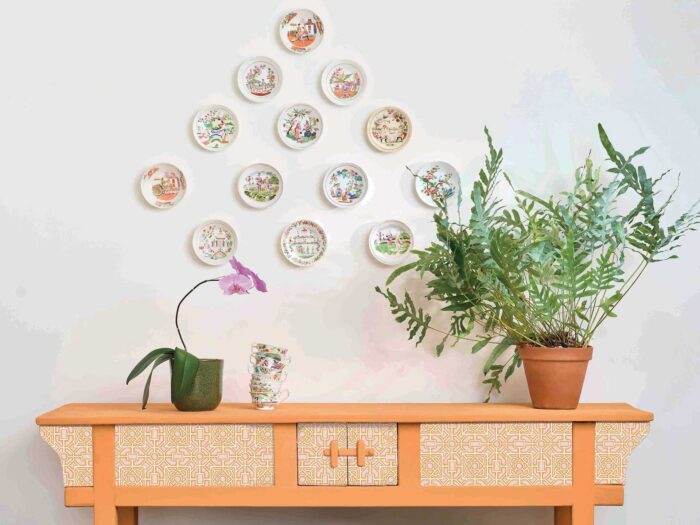
Pull together a gallery wall with a twist by using vintage, thrifted, or forgotten plates.
“Mixing different sizes, colours and textures of plates, whilst keeping a consistent colour palette, can give an instant visual appeal to a plain wall, without making the space feel cluttered,” explains Lee.
To attach your plates to the wall, he suggests using adhesive plate hangers or wire plate hangers, which attach to the back of the plate and simply adhere to the wall.
“I would recommend trying to arrange the plates in a loose cluster for a contemporary look, mixing them in with various frames for a curated approach,” he adds.
“For a more intentional appeal, place the plates into a symmetrical grid for a traditional and simple upgrade.”
Upgrade boring shelving
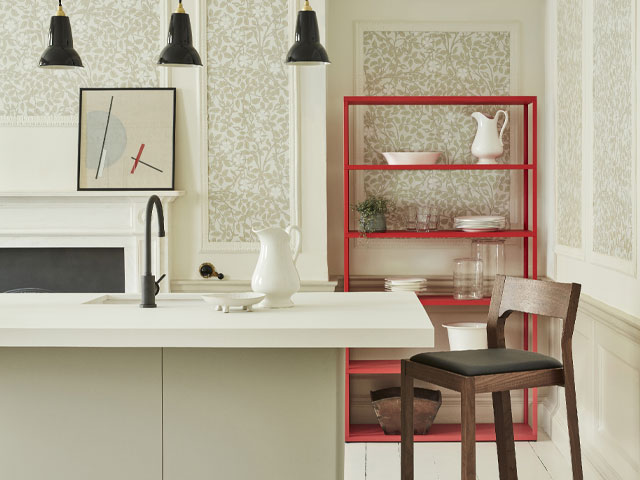
Built in cabinets and furniture can look beautiful when colour drenched but if you’re looking for a more maximalist look Steve suggests use peel and stick wallpaper on the back of shelving to instantly refresh plain or old furniture.
“Clean the shelves prior to applying the wallpaper, and measure the back panels of the shelving to ensure the wallpaper is cut to the correct size,” he advises.
“As you apply the paper, smooth it from the centre outwards to remove bubbles.”
‘Fake’ some panelling
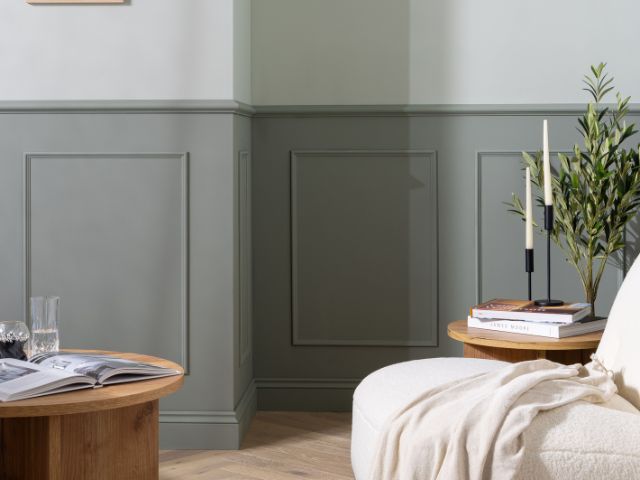
Panelling has been growing in popularity in recent years and while there are plenty of DIY tutorials online it can still be a step too far for those challenged in the decorating skills department.
But there is a way to get the effect of panelling with little effort.
“Create a statement panelled wall by hanging or sticking picture frames of different sizes to a wall,” suggests Steve.
“After mounting the frames, cover the wall and frames with a new coat of paint in the same colour.
“To keep this hack even cheaper, you can reuse older frames you already own by removing the back and the glass of the frame.”
Mix up your mounts
Who says mounts have to be white or cream? Mix them up for a playful look.
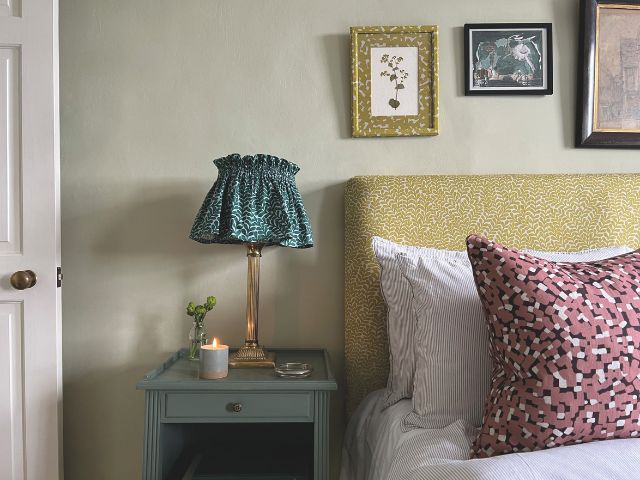
“Use scraps of fabric or leftover wallpaper and wrapping paper as backing for frames,” suggests Lee.
“Using offcuts of various fabrics which may otherwise be thrown away or left unused is an easy way to add colour and texture to your photos and artwork without having to spend a fortune on expensive frames.”
To achieve this look Lee recommends using an offcut of your chosen fabric and wrapping it around the backing of the frame, using a hot-glue gun or sellotape to get a tight fit.
“Then, simply attach your photo or artwork to the middle of the fabric and place the backing into the frame as normal,” he continues.
“This is a very effective way to use larger frames for smaller prints by giving the artwork another piece of visual interest, as well as adding a fun pop of colour to a room or a plain photo frame.”
Turn a vintage tray into a wall light reflector
A simple metallic tray can double as a clever light reflector.
Mounted behind a wall light or lamp, its surface helps bounce light around the room while adding an unexpected decorative touch.
“Mounting a decorative metal or mirrored tray behind a wall light or bedside lamp instantly amplifies light while creating a boutique-hotel feel,” explains Kate.
“Look for trays with interesting edges or engraving.
“Secure them safely behind the fitting so the light reflects outward, adding both drama and brightness.”
Use curtain tiebacks as cabinet handles
Switching up your hardware can be spendy, but Kate says curtain tiebacks can provide a spend-less but equally stylish option.
“Decorative rope or tassel curtain tiebacks can double as eye-catching cabinet handles,” she says.
“Loop them through existing holes in cupboards or drawers and secure inside with a simple knot or washer.
“They add softness and texture to kitchens or wardrobes and work especially well.”
Want more inspiration? Read: Wuthering Heights interiors: 8 ways to get the romantic gothic look at home or Heritage maximalism and 7 other interior trends set to dominate 2026 . And check out Vintage theatre is trending: 8 ways to get the look in your home
READ MORE: