


Changing Rooms 2021’s best makeovers
Nostalgia swept the nation as Changing Rooms recently returned to our screens. The updated show on Channel 4 featured regular face Lawrence Llewelyn Bowen, alongside newcomers 2LG, plus the guest cast of neighbours racing to redecorate a room in each other’s homes.
Now that series one of the regenerated programme has wrapped, it’s time to reflect on Changing Rooms best makeovers and to help you to recreate them in your own home.
1. Mixed wood wall panelling
As the series landed back with a bang, the first episode took place in Swansea as Laurence re-energised Claire’s tired living room with colour play, wall panels and statement furniture. With inspiration taken from palatial architecture in the floating palace of Udaipur, India, the finished room featured a jewel box of bold hues and an elegant design.
Changing Rooms pro and Dulux Select Decorator Georgie Baker explains how you too can create your own multi-colour painted panels in a few simple steps. By using just three or four colours, you can create a trompe l’oeil alcove effect which is ideal for framing shelves, a mirror or your favourite objects.
You will need
- Paint in 3-4 various tonal shades
- Dust sheets
- Paint stirrer
- Paint kettle
- Large roller and tray for base coat
- Small medium pile roller and tray for details
- 2” synthetic brush
- Spirit level, Pencil
- Good quality decorators’ low tack/clean edge masking tape
- Tape measure
Method
- Apply a coat of the base colour (we used Flamingo Flock matt emulsion) and allow to dry for between 2-4 hours.
- Decide on the location and size of your panels. Then, use a spirit level and pencil to mark them on the wall. To make sure your vertical lines are straight, you can use a plumb line or create your own. Making templates from lining paper is also a great idea to help with measuring and marking up.
- Place masking tape around the edge of the rectangle, rubbing the edges well down. To make sure the vertical lines are straight, it’s useful to create chalk guidelines. Using a drawing pin, attach a length of string to the wall at the point where you want the top of your panel to begin (make sure the string is long enough to reach the bottom of the planned panel).
- Tie a small weight to the end of the string (a set of keys is perfect), rub the string with chalk and then ‘ping’ it against the wall so that the chalk leaves a light, straight guideline for you to follow.
- Paint your panels. Using a brush, seal the inside of the masking tape with the base colour to avoid the next colour bleeding through.
- Leave to dry and then paint the panel inside your masking tape with the second colour (Berry Whip matt emulsion) using a roller. Remove the masking tape while still wet and leave it to dry.
- Repeat the process for the next colour (we used Salsa Mix matt emulsion), remembering to remove the masking tape while wet. Leave it to dry.
- Repeat the process again to complete the panel with the final colour (we used Coral Flair matt Emulsion). Always fill the panel in completely with the base colours. This gives the final colour a uniform base and makes for a smooth and even result.
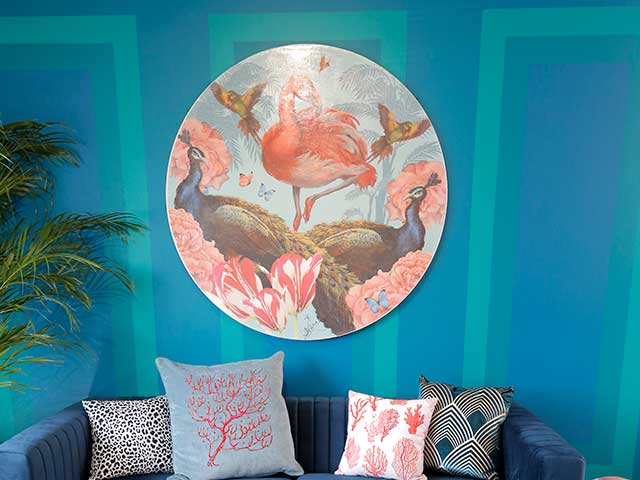
Photo: Dulux
Watch episode one on All4
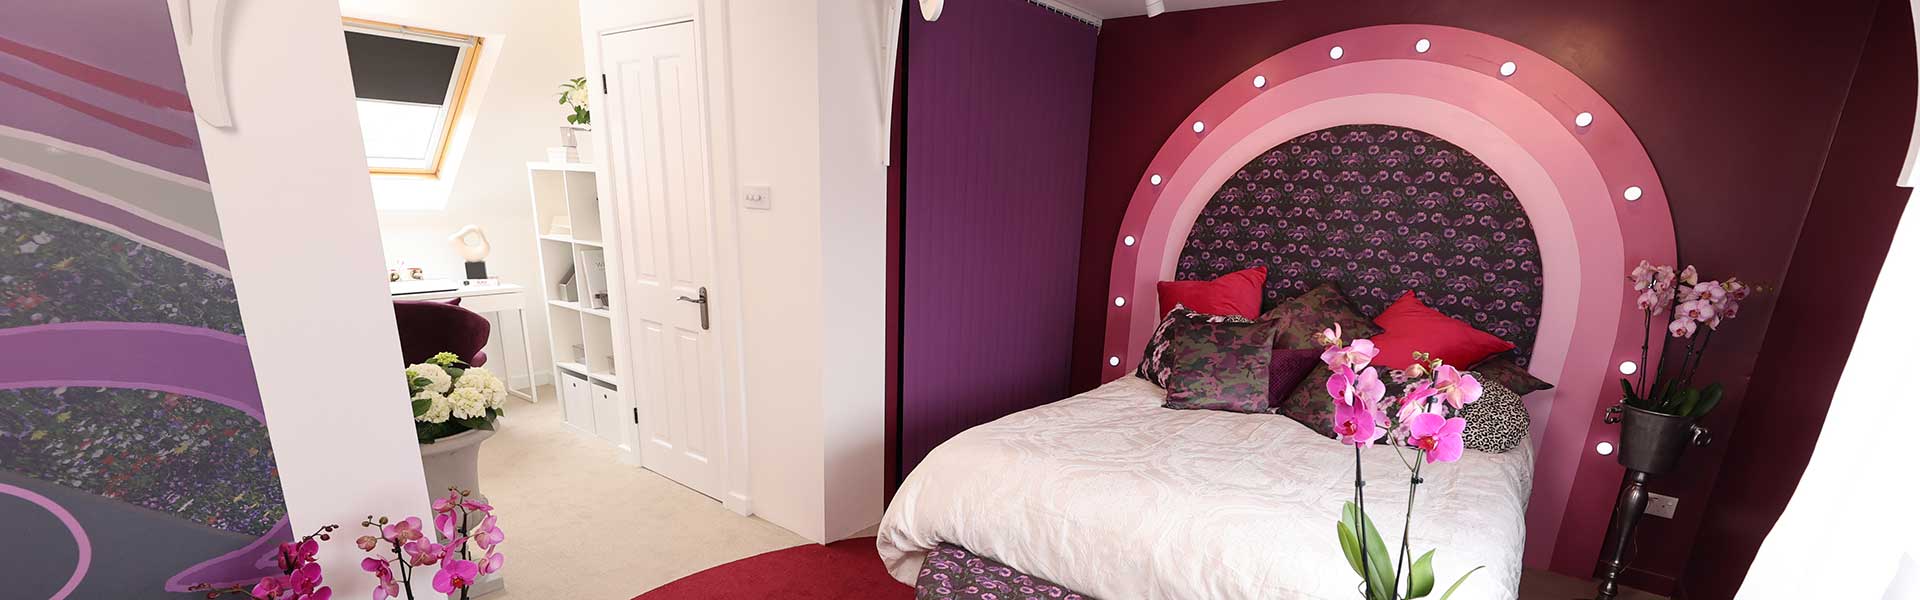
2. Rainbow arch
He added layers of rich purple, berry and pink alongside a bespoke, pergola-effect headboard and statement ceiling. The richly-pigmented ka-pow colours were inspired by the pair’s love of superheroes.
[twenty20 img1=”15905″ img2=”15906″ offset=”0.5″]
Watch episode five on All4
3. Scalloped door frame
The final episode in the 2021 series was set in Bury St Edmunds and saw Jordan and Russell transform Donna’s bedroom with pops of colour and a stand-out door ‘squiggle’. The door frame was a charming focal point for the room and added instant personality to the space.
You will need
- Dulux Wild Poppy
- Tape measure
- Pencil or coloured chalk
- Small paint kettle
- One small brush
- A 2″ synthetic brush
[twenty20 img1=”15909″ img2=”15908″ offset=”0.5″]
Method
- Measure door and decide on number of scallop squiggles you would like. Mark the high and low points of your squiggles with a pencil. The high points should be around 10cm from the door edge.
- Pour Wild Poppy into a paint kettle and stir. Dab the pencil marks with paint using a small paintbrush until you’ve worked your way all around the door. Still using the small paintbrush, join the dots with a smooth, curving line to create a scalloped effect.
- Use a larger paintbrush to fill in each squiggle and leave to dry.
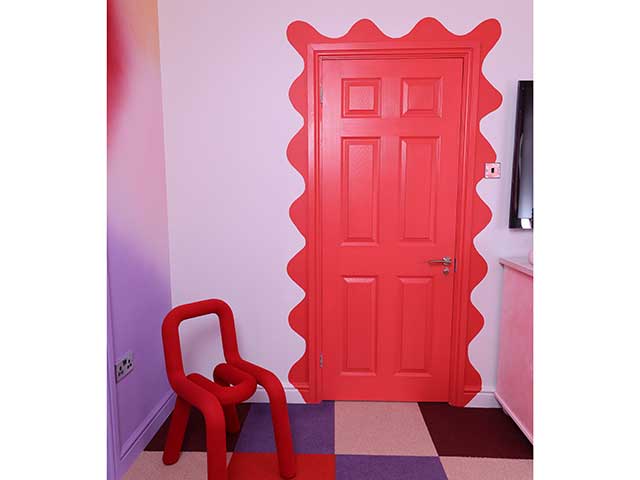
Photo: Dulux